1. Introduction
The growing adoption of online learning platforms necessitates robust and flexible solutions that promote learner engagement and cater to diverse pedagogical needs. While existing Learning Management Systems offer some potential, limitations in customization and accessibility persist.
Open edX, a free and open-source platform for building sophisticated online learning environments, emerges as a promising alternative. Its customizable nature, vibrant community, and commitment to open access align with current educational research seeking to democratize knowledge and empower educators. However, installing and deploying Open edX, particularly for academic research purposes, can pose technical challenges.
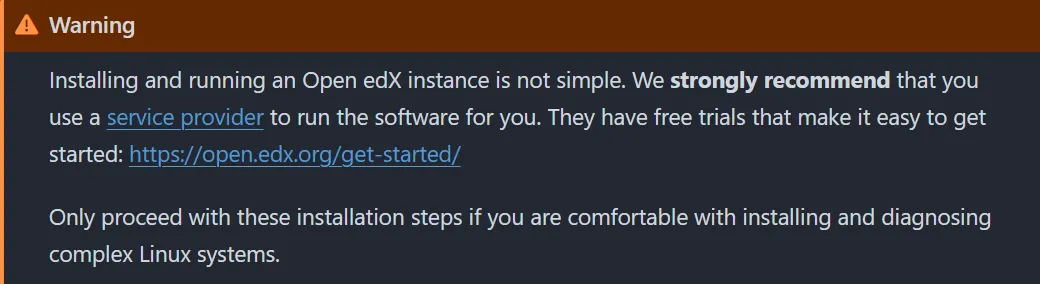
This article addresses this gap by providing a comprehensive guide to installing Open edX using Tutor, the official Docker-based distribution, suitable for both production and local development environments. Drawing on best practices and troubleshooting tips, this guide aims to facilitate the adoption of Open edX within academic settings, enabling researchers and educators to leverage its full potential for innovative learning experiences.
2. Deployment Options
The implementation of Open edX involves a critical decision regarding deployment strategies. Two primary choices emerge: leveraging a fully managed solution through a hosted platform or embarking on a self-hosted approach that grants greater control and customization. Each path presents distinct advantages and considerations for institutions and researchers seeking to adopt Open edX.
2.1 Hosted Solutions
Hosted platforms offer a simplified user experience, often with pre-configured features and technical support included in a subscription model. This approach can be appealing for those prioritizing ease of use, rapid deployment, and ongoing maintenance assistance. However, it may restrict the level of customization and integration available to align with specific research or pedagogical needs.
2.2 Self-hosted Solutions
Self-hosted instances of Open edX provide a greater degree of control over the platform’s configuration, customization, and integration with other systems. This enhanced autonomy aligns with research initiatives necessitating tailored learning environments or those exploring novel pedagogical approaches. However, it necessitates technical expertise and ongoing maintenance responsibilities.
2.3 Tutor
Within the self-hosted realm, Tutor emerges as a promising distribution for academic use cases. This open-source, Docker-based platform simplifies the deployment, customization, upgrading, and scaling of Open edX instances. It offers a user-friendly interface, comprehensive documentation, and a supportive community, making it an accessible option for institutions and researchers without extensive development resources.
3. Installation Requirements
- Supported OS: Tutor runs on any 64-bit, UNIX-based OS.
- Architecture: Both AMD64 and ARM64 are supported.
- Required software:
- Docker: v24.0.5+ (with BuildKit 0.11+)
- Docker Compose: v2.0.0+
- Ports: 80 and 443
- Hardware:
- Minimum configuration: 4 GB RAM, 2 CPU, 8 GB disk space
- Recommended configuration: 8 GB RAM, 4 CPU, 25 GB disk space

4. Installation
4.1 Provision A Compute Instance
The initial step involved provisioning a compute instance, and after evaluating various options, I settled on Oracle Cloud Infrastructure.
AWS offers a one-click installation of Tutor on their marketplace, and for reasonable price as well. Microsoft Azure also offers a similar installation via a template.
4.2 Connect to the Instance via SSH
Open edX installation is exclusively command-line-based, requiring an SSH connection. Since I have WSL with Ubuntu as my default distro, the process was seamless and hassle-free.
For Windows users who prefer not to use WSL, PuTTY is a viable option. The new Powershell also gets the job done, check this post by Make Use Of. On Mac or Linux, the terminal suffices for the task.
Open the Linux terminal or WSL and run:
me@tapiwamla:$ chmod 400 ssh-key-2023-12-22.key
me@tapiwamla:$ ssh -i ssh-key-2023-12-22.key ubuntu@<IP ADDRESS>
4.3 Install Docker and Docker Compose
4.3.1 First update the system:
ubuntu@edx:$ sudo apt update
ubuntu@edx:$ sudo apt upgrade
4.3.2 Next, set up Docker’s APT repository:
# Add Docker's official GPG key:
sudo apt-get update
sudo apt-get install ca-certificates curl gnupg
sudo install -m 0755 -d /etc/apt/keyrings
curl -fsSL https://download.docker.com/linux/ubuntu/gpg | sudo gpg --dearmor -o /etc/apt/keyrings/docker.gpg
sudo chmod a+r /etc/apt/keyrings/docker.gpg

# Add the repository to Apt sources:
echo \
  "deb [arch=$(dpkg --print-architecture) signed-by=/etc/apt/keyrings/docker.gpg] https://download.docker.com/linux/ubuntu \
  $(. /etc/os-release && echo "$VERSION_CODENAME") stable" | \
  sudo tee /etc/apt/sources.list.d/docker.list > /dev/null
sudo apt-get update
4.3.3 Install the latest Docker packages:
ubuntu@edx:$ sudo apt-get install docker-ce docker-ce-cli containerd.io docker-buildx-plugin docker-compose-plugin
4.3.4 Verify that the Docker Engine installation is successful by running the hello-world image:
ubuntu@edx:$ sudo docker run hello-world
4.3.5 Update the package index, and install the latest version of Docker Compose:
sudo apt-get update
sudo apt-get install docker-compose-plugin
4.3.6 Verify that the correct versions of Docker and Docker Compose are installed:
ubuntu@edx:$ docker --version
ubuntu@edx:$ docker compose version
4.3.7 Set correct sock permissions and verify if Buildkit is enabled:
ubuntu@edx:$ sudo chmod 666 /var/run/docker.sock
ubuntu@edx:$ docker buildx ls
4.4 Install Python, Pip and the Libyaml development Headers
ubuntu@edx: sudo apt install python3 python3-pip libyaml-dev
4.5 Setup DNS
While optional for local development, DNS setup is crucial for production installations to ensure that learners can access the platform using a user-friendly domain name. One typically needs to setup just 2 DNS records to get started.
For instance, to run an Open edX server at https://learn.tapiwamla.me on a server with IP address 1.1.1.1, one needs to configure the following DNS records:
learn 1800 IN A 1.1.1.1
*.learn 1800 IN CNAME learn.tapiwamla.me
Once this is done, then proceed with installation.
If your DNS provider is Cloudflare, you might want to use DNS only.
4.6 Installing The Python Package
4.6.1 First, install the latest Tutor via pip:
ubuntu@edx:$ pip install "tutor[full]"
After running this, the installation is successful but with warnings:
WARNING: The scripts pyrsa-decrypt, pyrsa-encrypt, pyrsa-keygen, pyrsa-priv2pub, pyrsa-sign and pyrsa-verify are installed in '/home/ubuntu/.local/bin' which is not on PATH.
WARNING: The script tutor is installed in '/home/ubuntu/.local/bin' which is not on PATH.
4.6.2 Add the packages to path:
If you try to run any tutor command at this point, it won’t be recognized because the packages were installed in a directory that is not on the $PATH. To fix this, do 3 things:
- add the packages to
$PATH - refresh the shell configuration
- refresh our connection to the instance
To add the packages to path, open the ~/.bashrc file and add the line:
export PATH=$PATH:~/.local/bin You can use a command-line text editor of your choice, I used vi.
4.6.3 Refresh the shell configuration:
Next, refresh the shell configuration so that the changes are effected.
ubuntu@edx:$ source ~/.bashrc
4.6.4 Refresh the connection:
Finally, close the connection for 2 minutes or so, then SSH back in. You can just type exit.
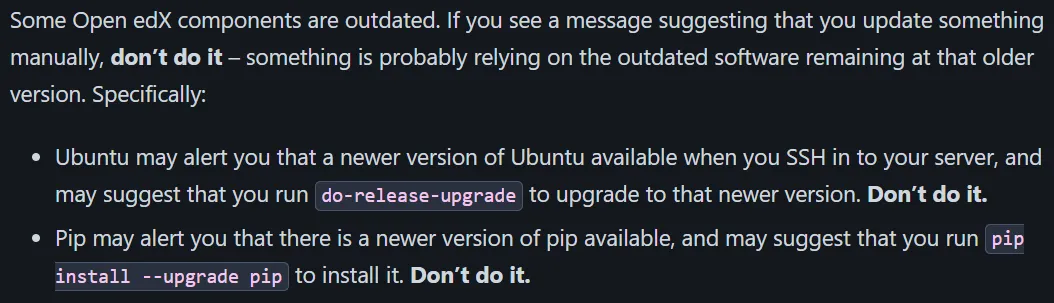
On connecting back in, you are likely to be confronted with a message advising you to upgrade the system and do-release-upgrade. DO NOT UPGRADE.
Now, you can verify that tutor has been added to path by simply running either command below:
ubuntu@edx:$ which tutor
ubuntu@edx:$ tutor --version
5. Deployment
Finally, run:
ubuntu@edx:$ tutor local launch
This will open an interactive session where it asks:
Are you configuring for production or for testing?
What domain name do you want to use for the student website?
What domain name do you want to use for the teacher website?
What is the name of the platform?
What is the title of the platform?
What is the public contact email address?
What is the default language code?
Do you want to activate SSL/TLS certificates?
This will take a while, about 20 minutes or longer. Once it’s done, you get a message similar to:
https://learn.tapiwamla.me
https://studio.learn.tapiwamla.me
https://apps.learn.tapiwamla.me
6. Post Deployment
6.1 Logging in
You will most certainly need to create a user to administer the platform. Just run:
ubuntu@edx:$ tutor local do createuser --staff --superuser yourusername [email protected]
You will be asked to set the user password interactively.
6.2 Importing a Demo Course
After a fresh installation, your platform will not have a single course. To import the Open edX demo course, run:
ubuntu@edx:$ tutor local do importdemocourse
6.3 Indigo Plugin
When installing, you might have noticed a warning:
⚠️ Failed to enable plugin 'indigo': plugin 'indigo' is not installed.
The following commands will update the plugins cache, install and enable the indigo plugin.
ubuntu@edx:$ tutor plugins update
ubuntu@edx:$ tutor plugins install indigo
At this point, installation is complete!
7. Conclusion
While Tutor simplifies the Open edX installation, it may still pose a challenge for complete novices. Despite the clarity of this guide, I dedicated an entire night to understanding the process, delving into documentation and forums. The effort was worthwhile, given the excellence of the software!